 |
|
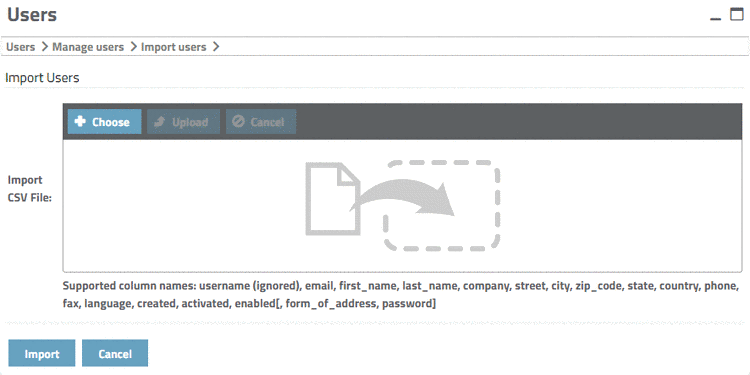
Users can be imported into the PARTcommunity user database via CSV file and exported from it. Optionally you can assign a role in addition in the course of the import.
The format of the CSV file is defined by CADENAS.
In the following the import and export procedure is described:
Click on the Choose button and browse for the desired file in the explorer window.
-> The selected file appears in the Import CSV File section.
-> The CSV file(s) is uploaded to the server and no more displayed in the window.
-> The import is processed and all successfully imported lines of the CSV file are listed.
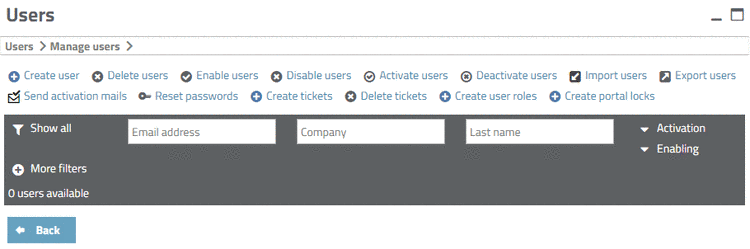
Optionally you can assign roles to all imported users in addition.
-> The Create new user roles page opens.
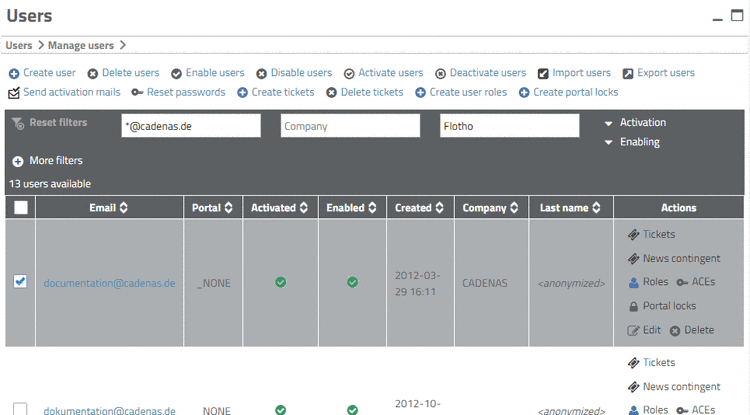
Detailed information on filtering in the Selection section is found under Section 1.1.3, “Find users”.
Check the desired roles and confirm with .
A respective message is displayed.
Clicking on Roles you can perform the procedure again if needed.
Optionally you can filters before.
Detailed information on this is found under Section 1.1.3, “Find users”.
Click on the
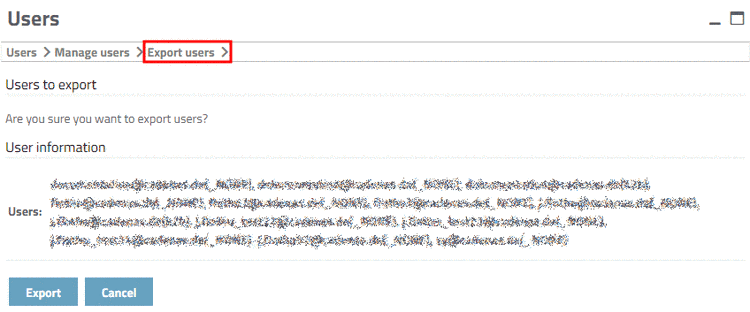
 Export users action.
-> The same-named page opens with a respective message: "Are you sure you want to export users?"
If you want to export, then click on the button.
The exported file contains form data, which are inserted during the creation of a new user, meaning the personal data such as USERNAME, EMAIL, FIRSTNAME, etc., the creation date and the status concerning ACTIVATED and ENABLED.