 |
|
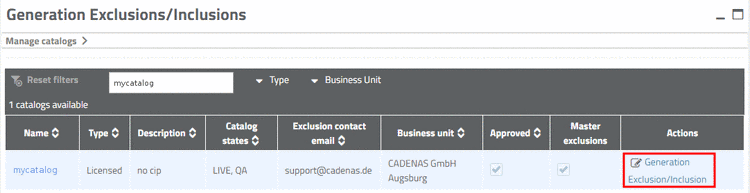
In order to call the entries of exclusions and inclusions list, do the following:
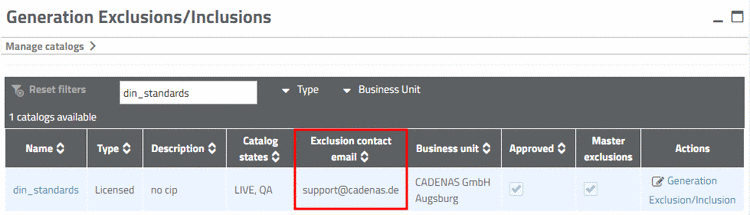
In the column Actions, click on the command Generation Exclusion/Inclusion.
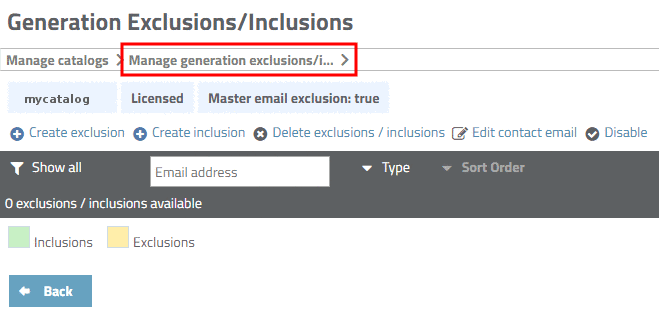
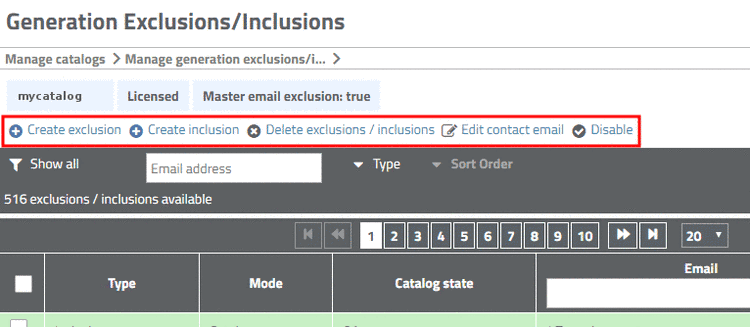
-> The dialog Manage generation exclusions/inclusions is opened.
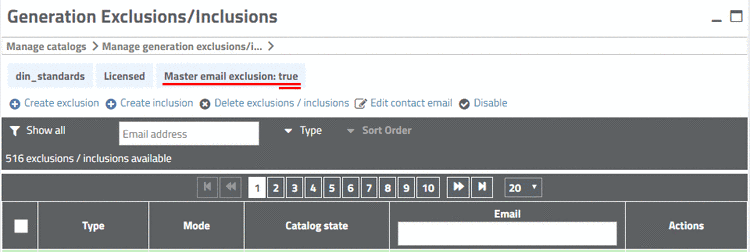
On the very top you can see information on catalog:
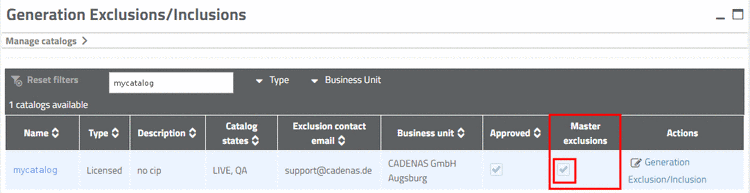
Master Email Exclusion: True/False:
If the master list is activated or deactivated, can be seen in the Master Exclusions column.
How to perform the activation/deactivation is explained under Section 1.2.3.2, “Activate / deactivate master exclusions list”.
Either click
on  Show
all, in order to display all entries or use filters.
Show
all, in order to display all entries or use filters.
Optionally set how many rows shall be displayed per page and browse the pages by clicking on a page number or the arrow keys.
In the following the specific functions are explained:
![[Note]](images/note.png) | Note |
|---|---|
Entries of the master list are also displayed, however, can only be edited with admin rights (normally not on customer site). | |
| ||||
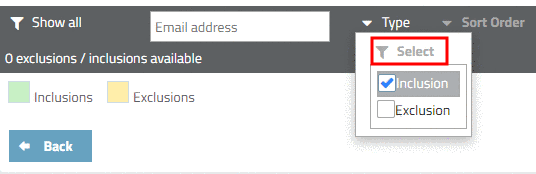
In order to
select specific filters, activate the desired checkboxes in the list field
and confirm by clicking on Choose.
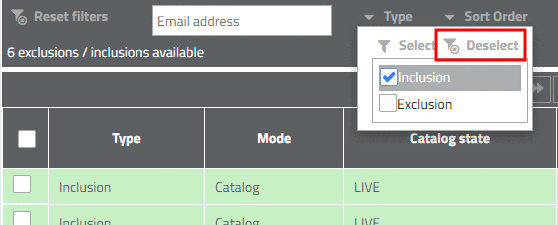
In order to
remove specific filters, deactivate the desired checkboxes in the list field
and confirm by clicking on  Deselect.
In order to reset
all
filters, click on Reset filters.
Above the listing several actions are available. Here, in particular, you can set new entries on the exclusion or inclusion list and delete entries.
 Create exclusion |
Create inclusion: Add new entry in
the exclusion or inclusion list. See Section 1.2.3.1.1, “Add new
exclusion or inclusion (catalog list)”.
Create exclusion |
Create inclusion: Add new entry in
the exclusion or inclusion list. See Section 1.2.3.1.1, “Add new
exclusion or inclusion (catalog list)”.
 Delete exclusions / inclusions:
Delete entries: See Section 1.2.3.1.2, “Delete
exclusions or inclusions (catalog list)”.
Delete exclusions / inclusions:
Delete entries: See Section 1.2.3.1.2, “Delete
exclusions or inclusions (catalog list)”.
 Edit
Email contact: Locked users get the possibility to contact
the portal manager via email.
Edit
Email contact: Locked users get the possibility to contact
the portal manager via email.
When clicking on the command, the respective dialog for entering the email address is displayed.
The entered email address is then displayed in the column Exclusion contact email.
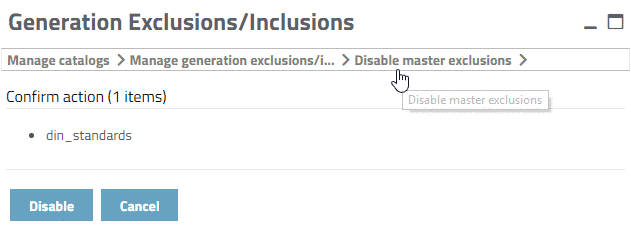
 Enable / Disable: Activation/Deactivation of
Master exclusion/inclusion list
Enable / Disable: Activation/Deactivation of
Master exclusion/inclusion list
The master list maintained by CADENAS can be included or excluded.
When clicking on the command, the respective dialog is displayed. Then click on the button or .
You can see the set state in the Catalog information, furthermore in the column Master Exclusions.
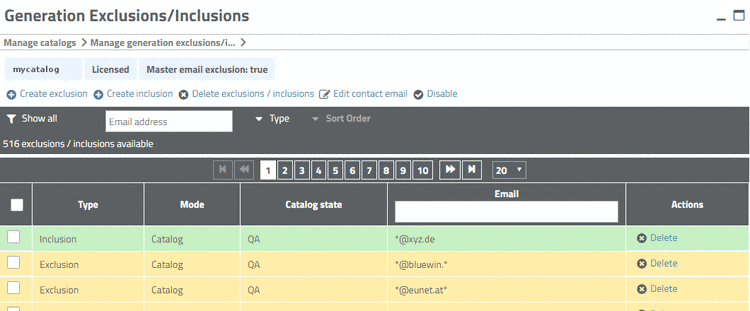
In the following the table structure is explained and which actions can be performed:
At those rows,
where you want to apply the action Delete exclusions / inclusions,
activate the checkbox.
The Type column shows, whether the entry is in the exclusion or inclusion list.
The Mode column shows, whether the entry is in the catalog or master list.
This column shows the catalog state, on which the exclusion or inclusion list refers.
Email: Via input field in the column header, you can filter the list.
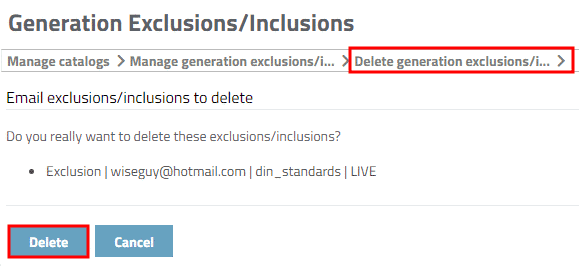
Delete: In the line to delete, in
the Actions column click on
Delete.
A confirmation message appears: Do you really want to delete?